


FIN - The story of a reduction linoprint
Part five: the big reveal, plus a list of suppliers

We’ve got there at last. Over four previous newsletters I’ve taken you through the preparation and first seven layers of a reduction linoprint, and here I am printing the last and eighth layer using my Sláma hand press. (Note hair scragged back because long hair and printmaking do not mix well - or rather they can mix too well).
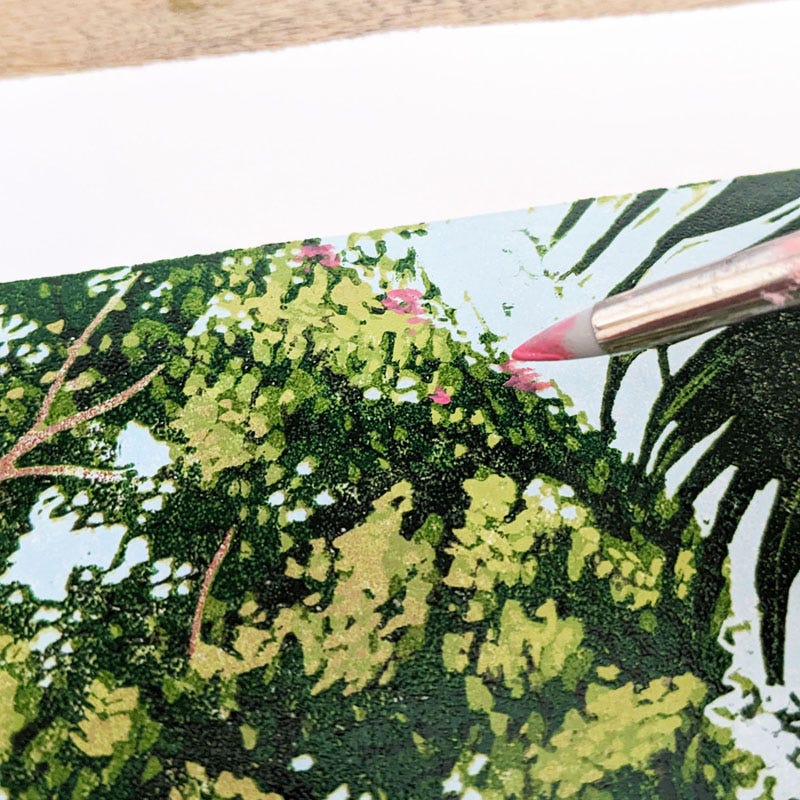
But is that the print finished? Well no actually it isn’t. The trees I saw in St Lucia had a few pink blossoms right at the top; so high up you might miss them, but I remembered them. I pondered long and hard about how I could add these and whether I should. Would anyone notice? Would they make a difference? Well they make a difference to me. So after experimenting on a test print I decided to go ahead and apply a few tiny dots of pink ink (opaque white with a touch of magenta) using a silicone Colour Shaper tool.
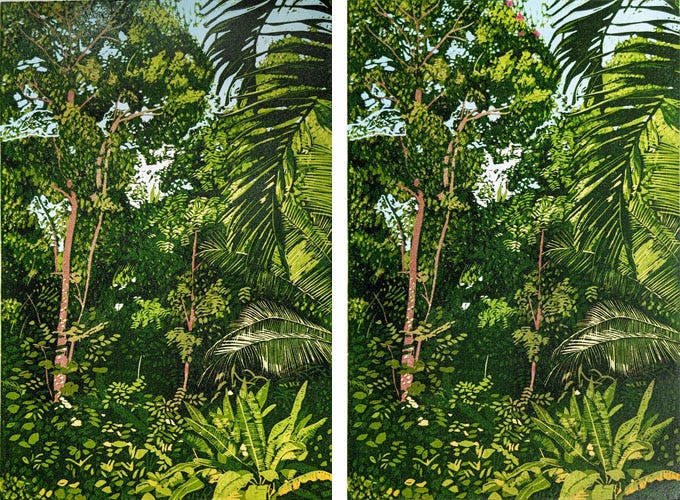
Here’s the print before and after the addition of the pink blossoms.
So there it is. ‘Lush’ is now drying on the rack and will hopefully be ready to go in my shop next week.
I hope this has given some insight into the process of creating a reduction linoprint, and that if you are a printmaker you might have picked up some tips. Do let me know if these posts have been helpful.
Links to recommended UK suppliers
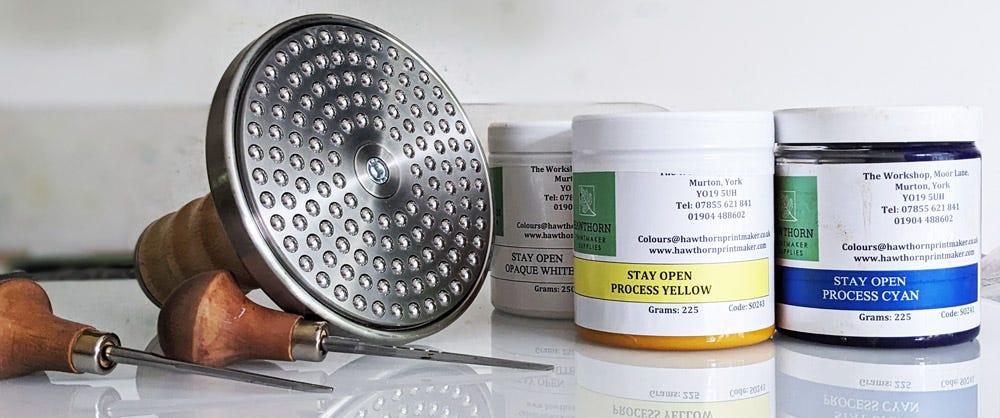
Here are some suggestions of where you can get materials and equipment used in the making of this print and seen in the photos and videos. If you’re not in the UK and can’t find the items in your own country it might be worth checking if the suppliers below will deliver to you.
Inks, larger rollers - Hawthorn Printmaker Supplies
Sláma Press, Ternes Burton registration system, narrow roller - Handprinted
Somerset Satin paper, Pfeil cutting tools, Colour Shapers - Jacksons
Inking slabs - glass cupboard tops from IKEA
Well, I’m going to have to find something else to write about now, aren’t I?
Leave it with me…
Jane