


The story of a reduction linoprint
Part one: preparing the block and paper

So you like me grumbling, huh? My grouchy post last week about the etiquette of talking to printmakers attracted more new subscribers than all my previous posts put together. You weird lot. (But thank you and welcome).
Well I’m afraid I promised my next post would be less grumpy and I have to honour that, so no moaning this time. It’s all positivity today.
This is the first in a series, probably interrupted along the way by other posts, charting exactly how a reduction linoprint is made from start to finish - all the boring stuff as well as the glamorous final reveal. If you’re a printmaker you might find it useful; if you are an art lover you might find it interesting. Or you might simply want to wait until I post the glamorous bit at the end.
The first thing I have to do is prepare the block. No actually the VERY first thing is find a subject and come up with a design in my head, but let’s take that bit as read, shall we? Another day I might take you on a walk to find inspiration (makes note for a future post) but today we are back in the studio ready to start work.
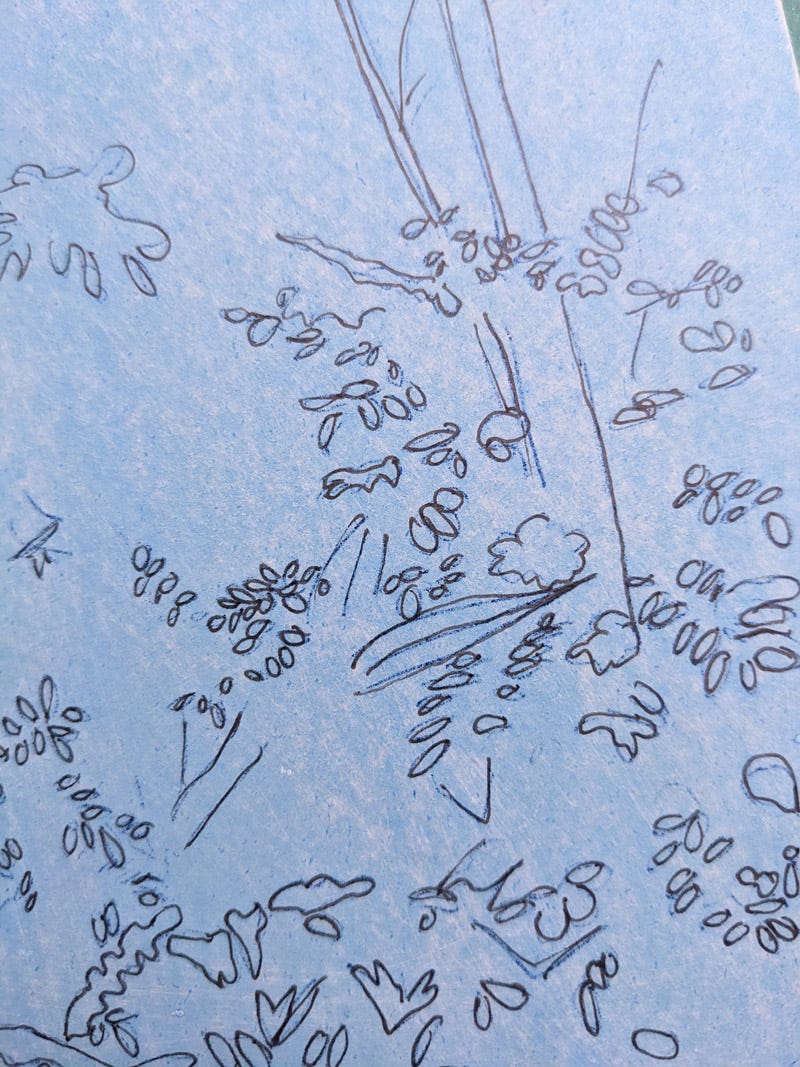
I stain my lino before I do anything else as it makes it easier to see where you’ve carved, so that’s why my lino is blue in these images rather than the usual grey. I don’t draw a precise and detailed image on my lino as I tend to carve mostly freehand using my original photos as reference. I usually just plot out a few key points, such as tree trunks or the edge of a path, and then add sketchy shapes and squiggles to remind myself what I’m supposed to be doing.
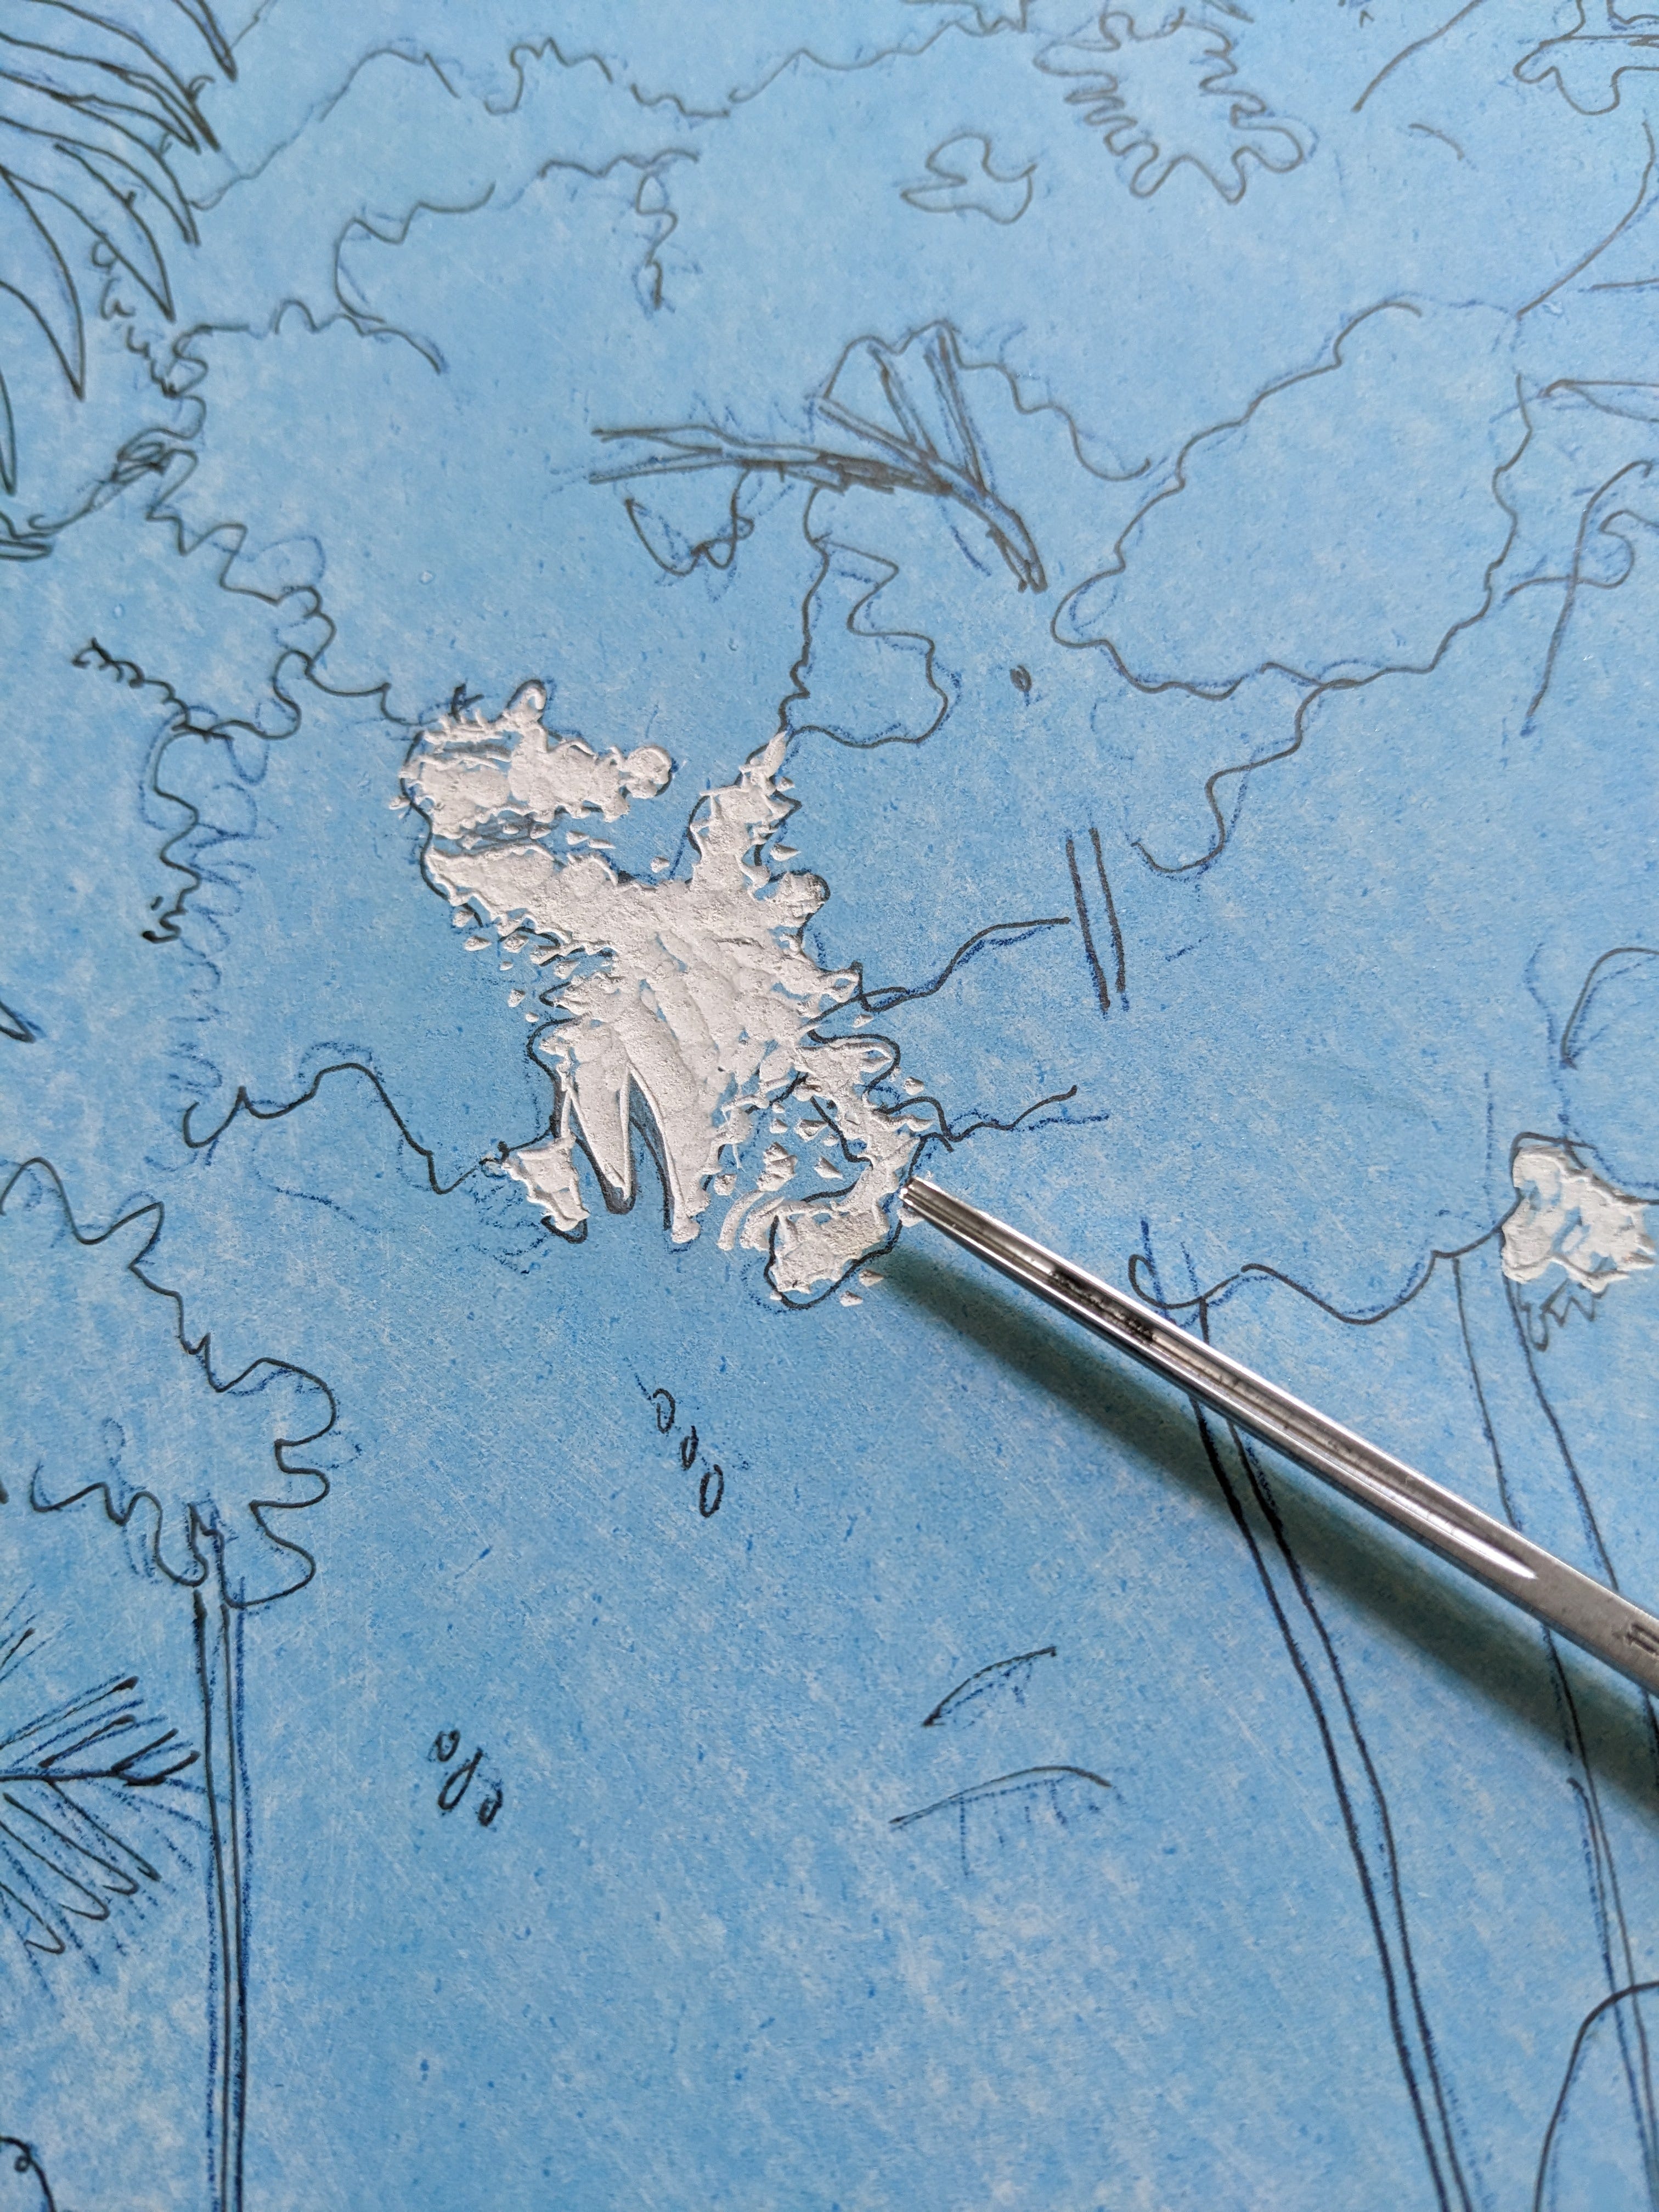
The first carving is only the parts of the image that are to stay white. For me this is often only a tiny bit of carving as most areas of my prints will have at least some colour. In this print it is just a couple of patches of white cloud glimpsed through the trees.
So now I’m ready to print, except I’m not because I have to do the frankly tedious business of preparing the paper and registration jig.
Tearing the paper to size is the traditional way of doing things as the torn edge emulates the existing deckle edges of sheets of printmaking paper. Plus it is much safer than cutting; I have already spent one afternoon in A&E after a Stanley knife decided to skid over the edge of a metal ruler and I don’t wish to do that again.
A registration jig ensures that the block and paper are in the same place in relation to each other every time, which is pretty important in a reduction linoprint as each layer must line up exactly with the previous ones. I make a jig by sticking mountboard offcuts to a piece of thick card. As I’m using the same sized block as for some previous prints, I already have a jig prepared to the right size.
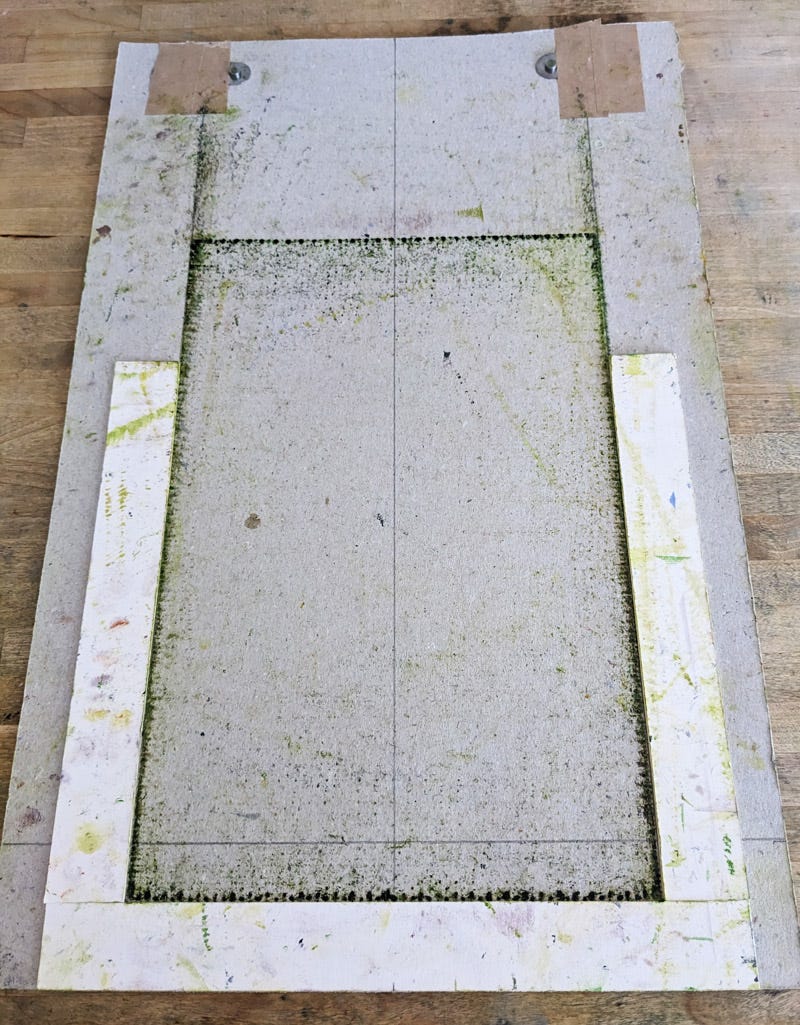
And here’s how the block slots into the jig.
Did you notice those metal pins taped to the top of the jig? Those are one part of the Ternes Burton registration system. The other part is plastic tabs which you attach to your paper. These clip over the pins making sure the paper is in the same place every time. Here I am taping the tabs onto the paper. I’ve prepared 12 sheets plus a test sheet, which I make using the back of an old failed print. Sadly I have plenty of those.
Ternes Burton registration pins and tabs are made in the US but can be ordered in the UK from Handprinted and some other sites. If you are in neither the US nor the UK, have a Google for local suppliers.
So now I’m finally ready for the first stage of printing. That’ll be in the next post in this series, and I’m afraid that’s the closest printmaking comes to a cliff-hanger ending….
Coming very soon
That tropical path print I revealed at the end of my last newsletter will be in my shop in the next few days. I just need to check how many of the edition are good enough, then trim, number, title, sign and date them. Oh and scan one, photograph it and make a listing on my website. THEN it will be in my shop. If you’re a subscriber you’ll get a quick email.
Other than that, I’ll see you next week with the first layer(s) of printing of this latest reduction linoprint.
All the best
Jane